'%20fill='url(%23cc-green)'%20stroke='url(%23cc-green)'%3e%3cpath%20d='M60%20102h44l70%20112'%20fill='none'%20stroke-width='38'%20stroke-linecap='round'%20stroke-linejoin='round'/%3e%3crect%20x='142'%20y='128'%20width='328'%20height='212'%20rx='76'%20stroke='none'/%3e%3cpath%20d='M388%20300l62-24%202%2072z'%20stroke-width='20'%20stroke-linejoin='round'/%3e%3ccircle%20cx='222'%20cy='410'%20r='32'%20stroke='none'/%3e%3ccircle%20cx='372'%20cy='410'%20r='32'%20stroke='none'/%3e%3c/g%3e%3c/svg%3e) ChatCart
ChatCart
Use ChatCart
Managing products
This guide adds a product from start to finish. Products belong to the store that is selected in the store switcher, so check it first.
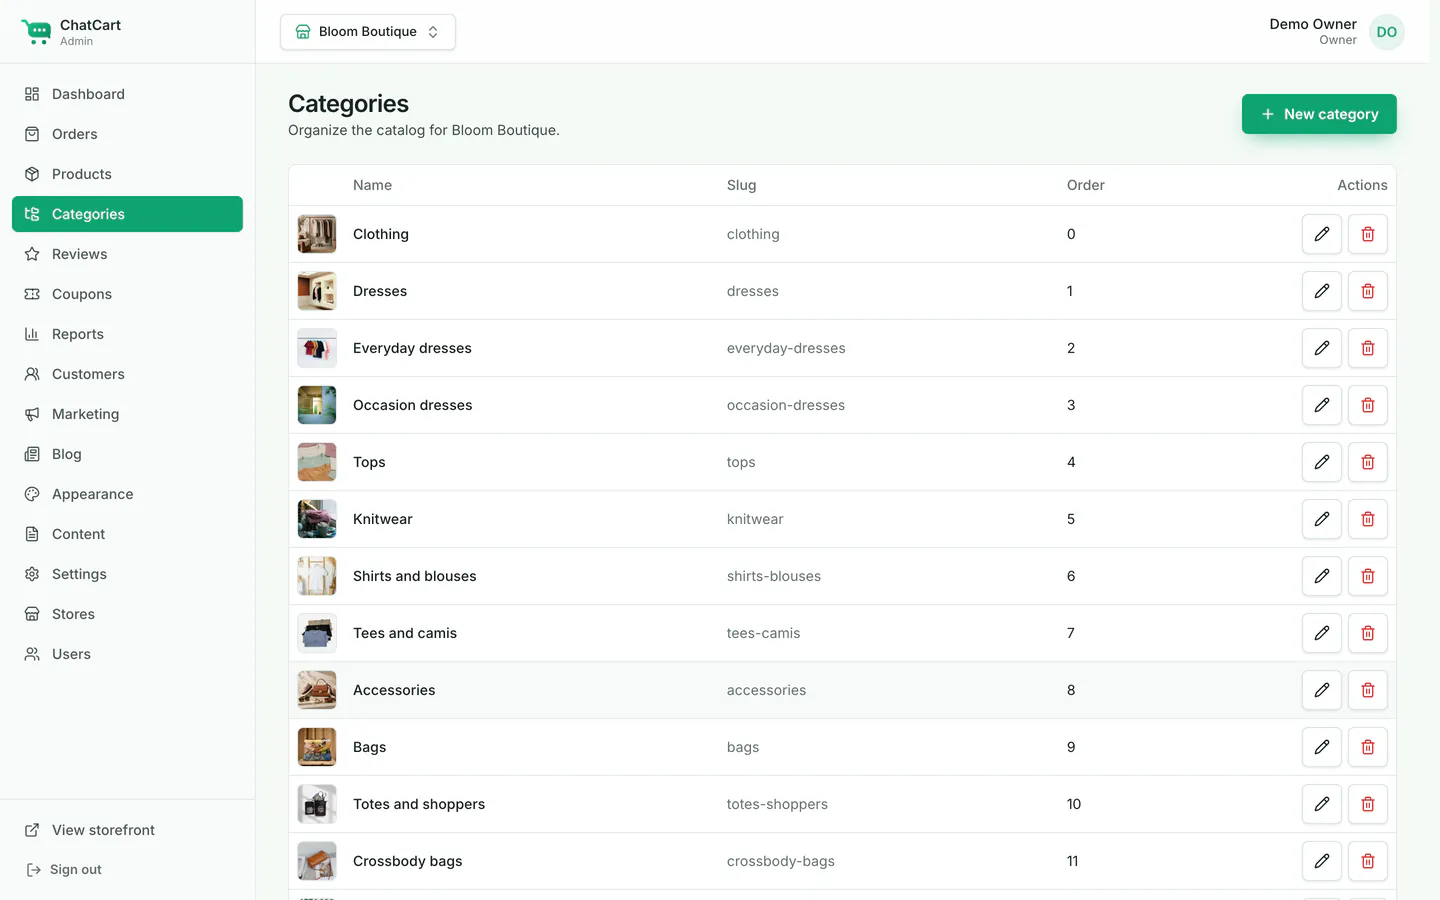
Create the categories
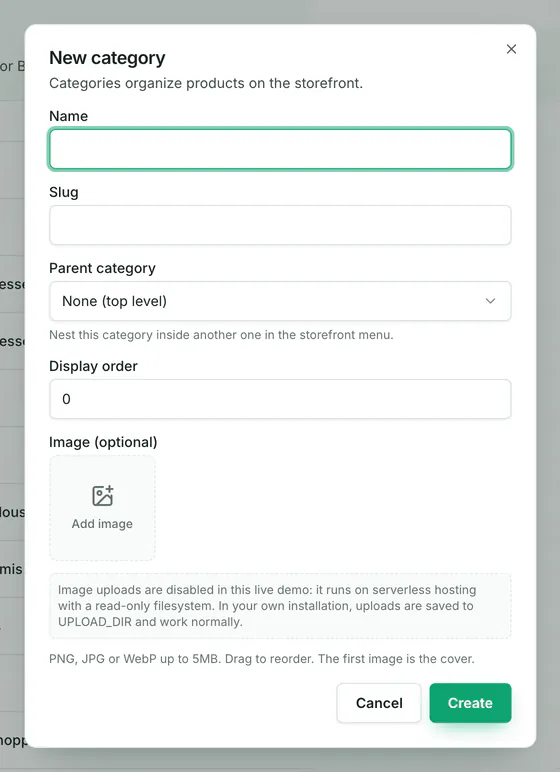
Open Categories and click New category. Type a Name (the Slug fills in by itself), a Display order (lower numbers come first), and add an image if you like. To make a subcategory, pick its Parent category, for example Women for Dresses. Leave it at None (top level) for a main category. Click Create.
Open the product form
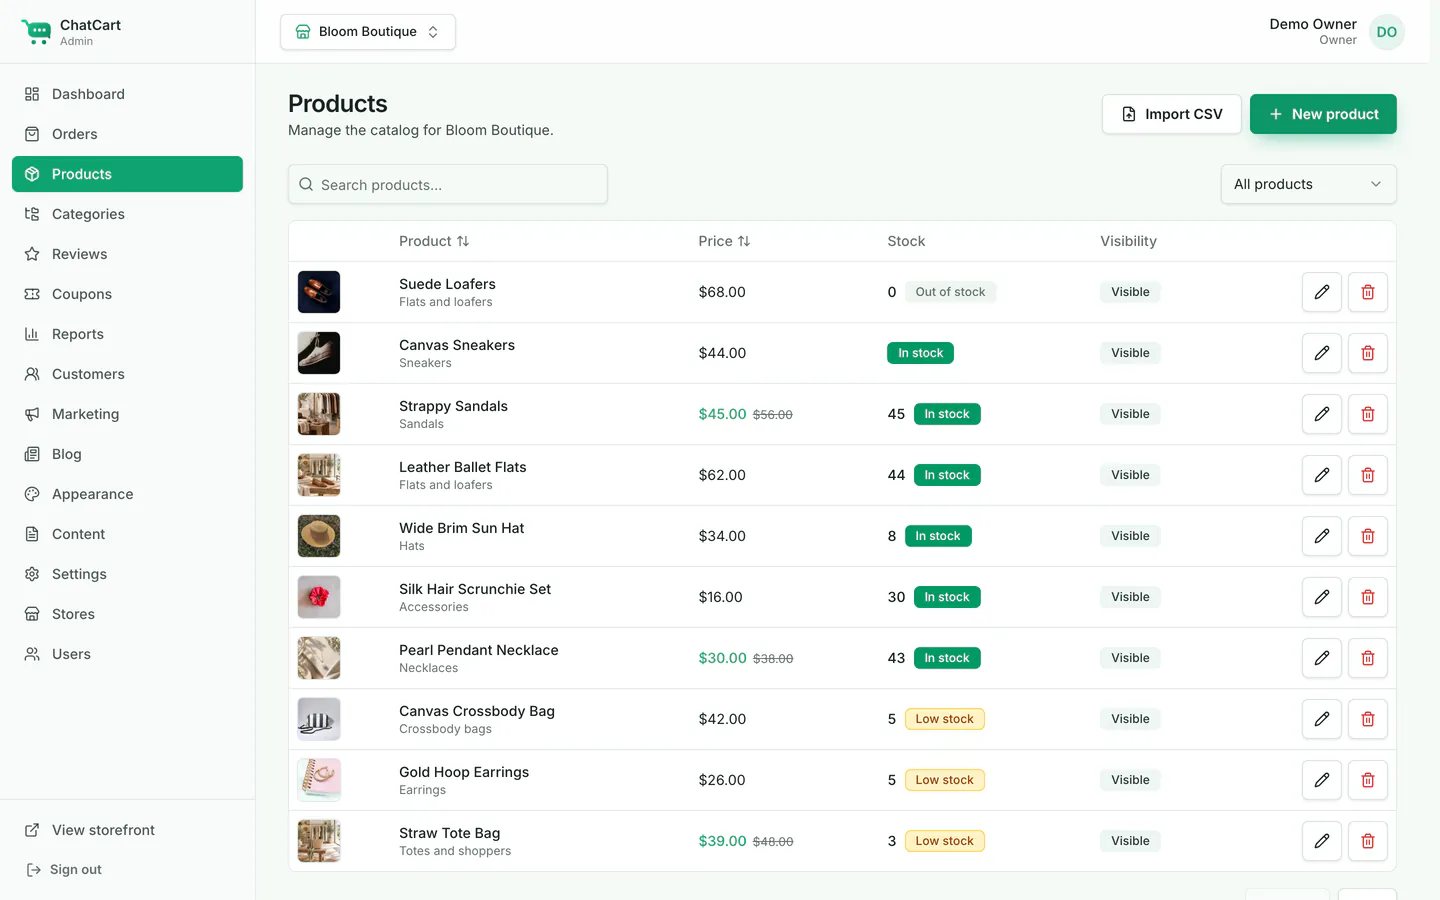
Open Products and click New product. The form has these parts:
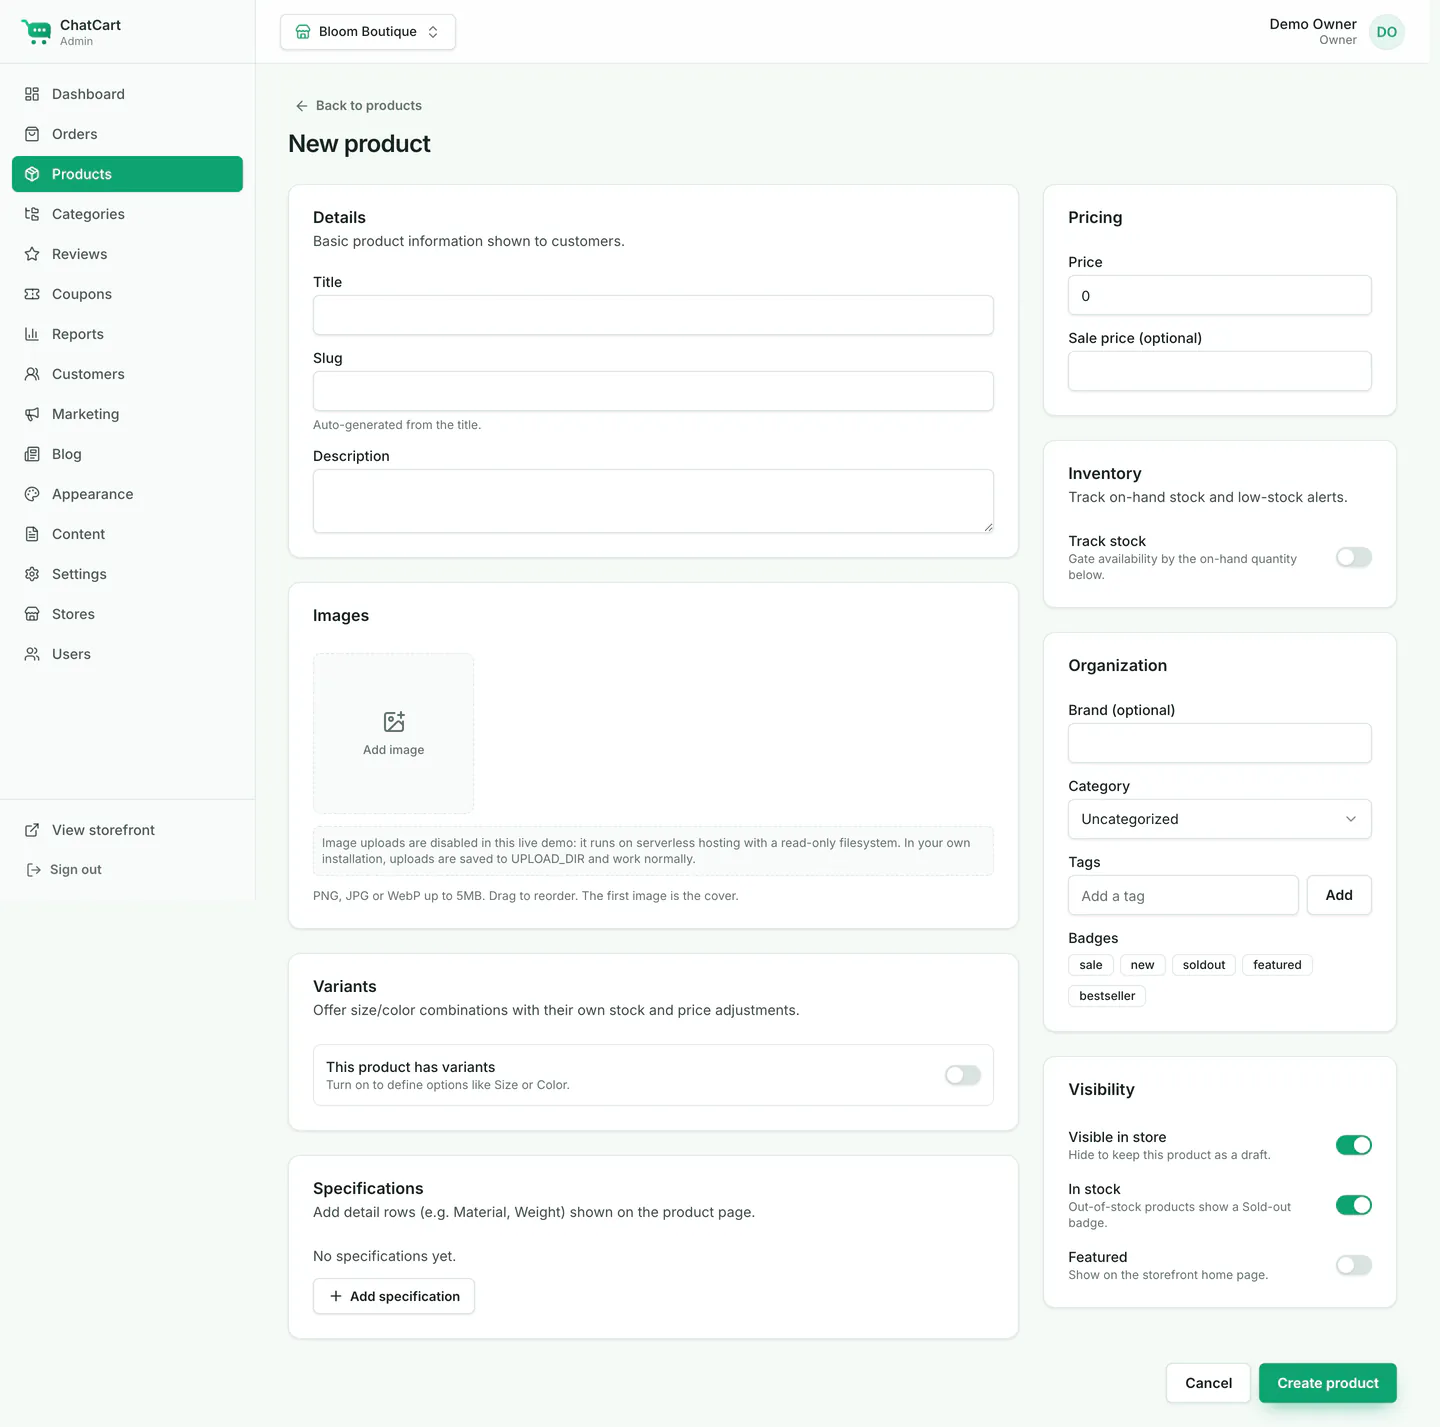
- Details: the title, the slug (the product's web address, filled in for you) and the description.
- Images: see step 3.
- Variants: sizes, colors and other options. See step 4.
- Specifications: rows such as "Material: Linen" shown on the product page.
- Pricing: the Price, and an optional Sale price. With a sale price, the old price is shown crossed out.
- Inventory: stock. See step 5.
- Brand, Category, Tags and Badges: the brand and tags help search and filters. Badges (sale, new, sold out, featured, bestseller) appear on the product card.
- Visibility: see step 6.
- Create product: saves the product.
Add images
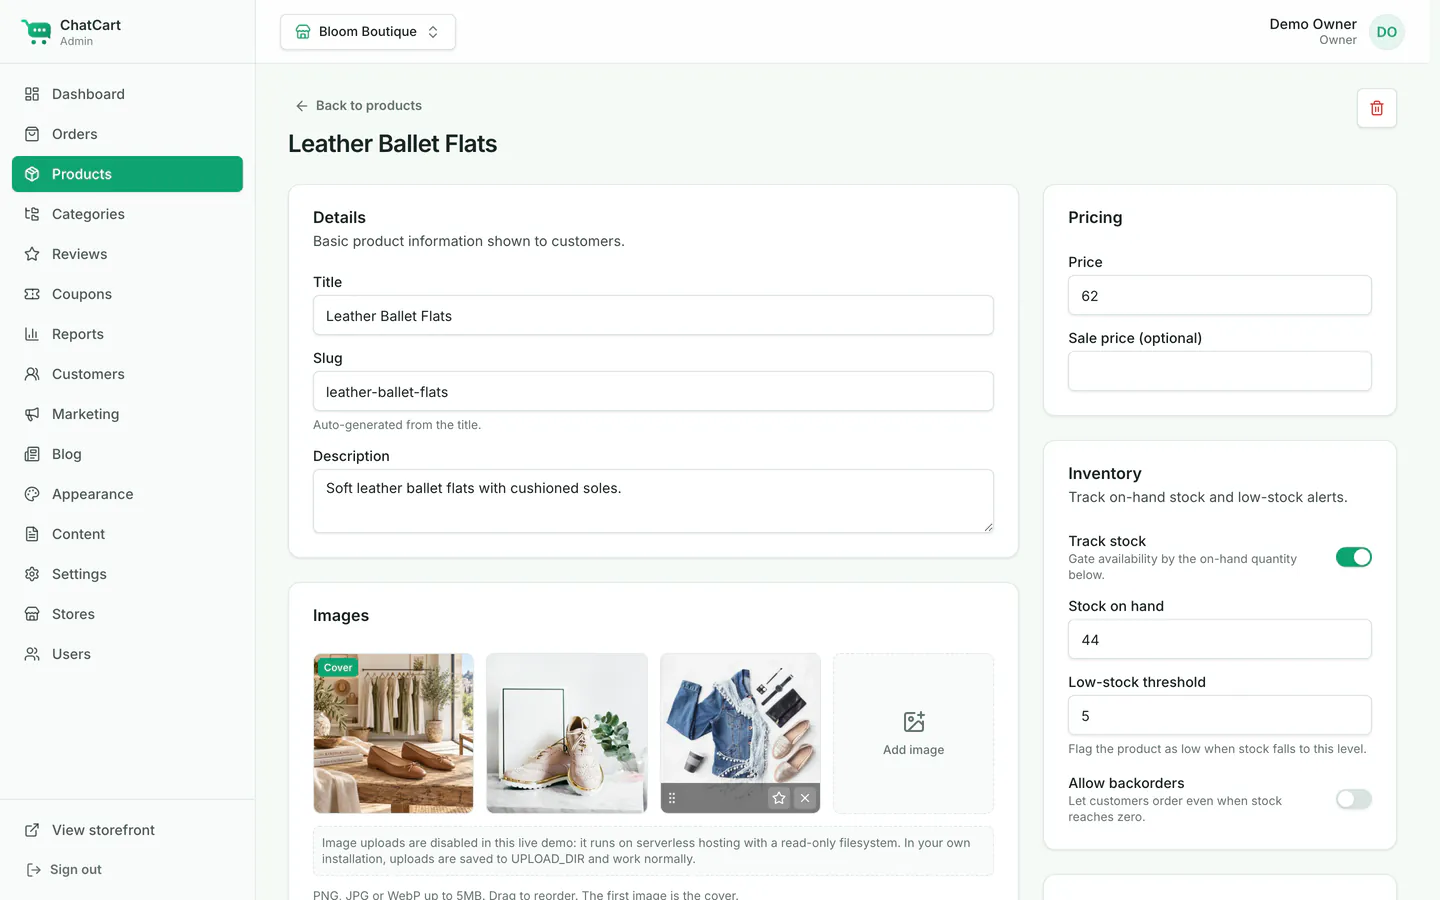
In Images, click Add image and choose a file. JPEG, PNG, WebP, GIF and AVIF are accepted, up to 5 MB each. Drag the images to change the order. The first image is the cover: it is shown in lists and on the product card.
Add variants (sizes, colors)
Turn on This product has variants. Type an option name, like Size,
and its values separated by commas, like S, M, L. Click
Add option for a second option, like Color. ChatCart makes one row
for every combination.
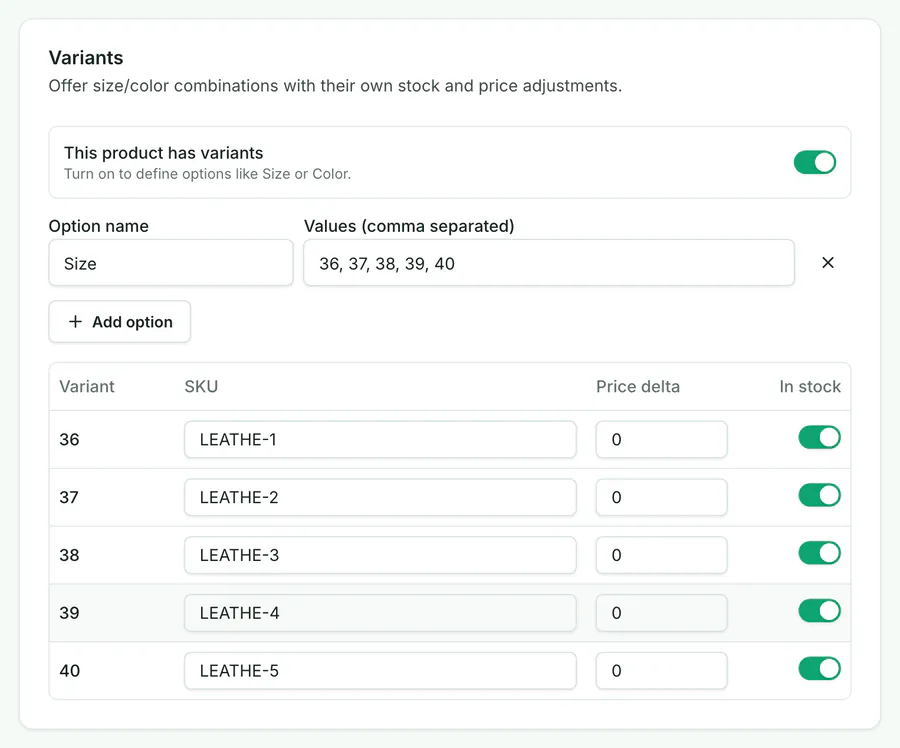
- This product has variants: turns the variant editor on.
- Option name and Values: one option per row. Values are separated by commas.
- Add option: adds a second or third option.
-
Price delta: added to the product price for this variant. Use
5to make XL cost 5 more, or0for the same price. - In stock: turn it off when this one variant is sold out. Customers cannot choose it.
Set the stock
In Inventory, turn on Track stock and type the Stock on hand. The stock number counts the whole product (all variants together).
- Low-stock threshold: when the stock reaches this number, the product shows a "Low stock" label and appears on the dashboard.
- Allow backorders: customers can still order when the stock is 0.
- Each order takes its items from the stock. The server checks the stock when the order is placed. If there is not enough, the customer sees a message and no order is made. When you cancel an order, its stock goes back.
Choose the visibility and save
- Visible in store: turn it off to keep the product as a draft.
- In stock: turn it off to show a "Sold out" badge, for products without stock tracking.
- Featured: shows the product in the Featured products section of the home page.
Click Create product (or Save changes when you edit).
See it on the storefront
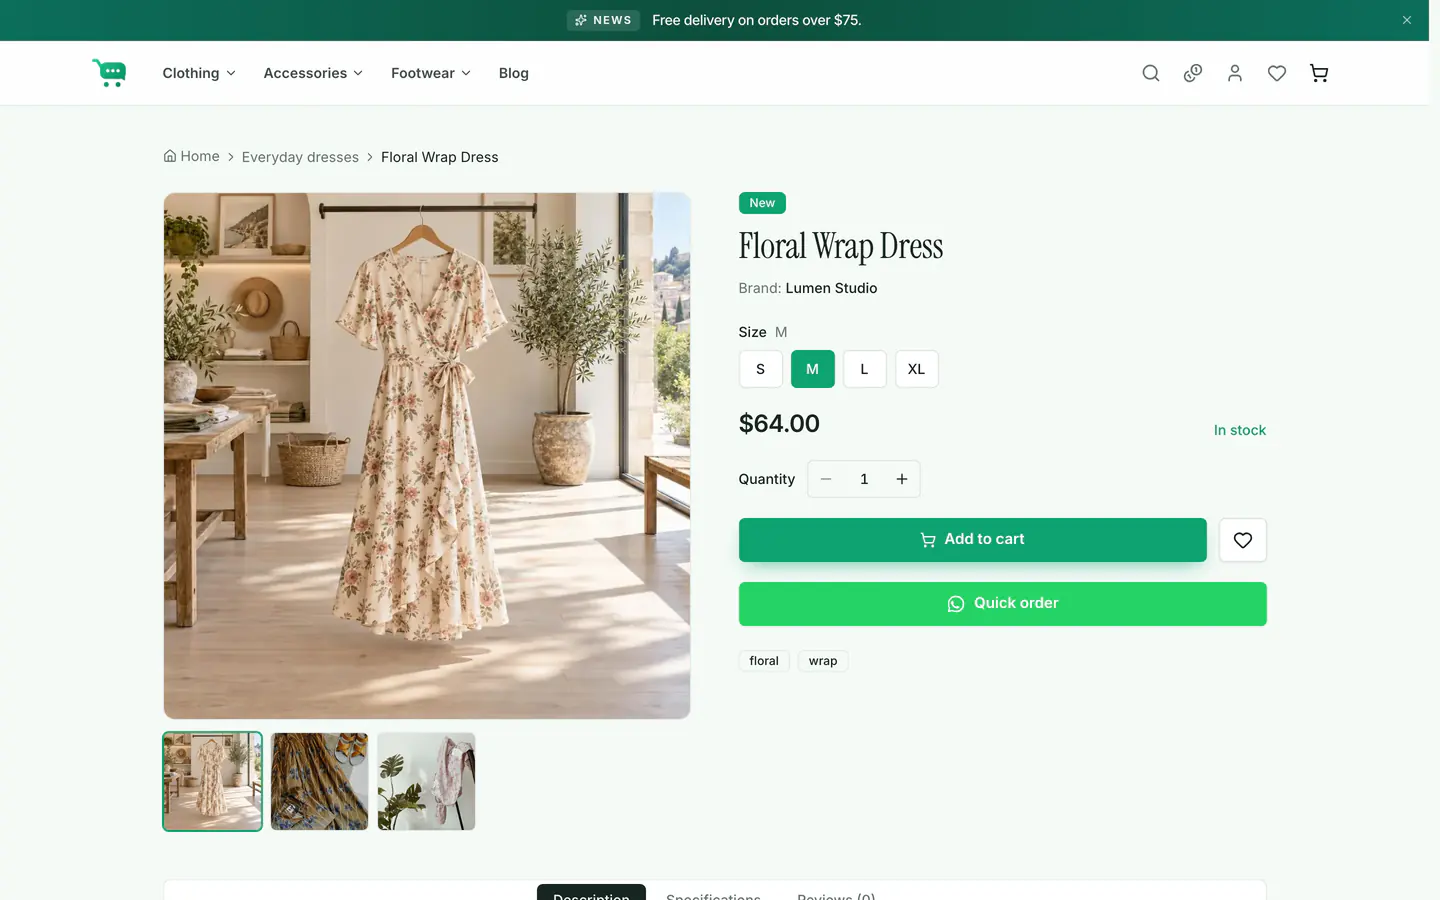
Click View storefront at the bottom of the admin menu. Your product appears in its category, in search, and (if featured) on the home page. No rebuild is needed.